Adding Desktops To The RADC Web Feed
 Posted by Mike
  Comments off
  Last updated: August 9, 2023
 20

The latest release of WSE RemoteApp (Version 1.255.1811.0 or greater) now allows you to add Desktops (i.e. Computers) to its RADC web feed so that you can access them directly from your favorite RADC web feed client instead of having to always sign in to the Essentials server’s built-in Remote Web Access (RWA) website. The new feature works great from the native RemoteApp and Desktop Connections applet in Windows, and from all of the free Microsoft Remote Desktop client apps for Mac, iOS, Android, and Windows (it even works from the Remote Desktop web client with a bit of persuasion). Continue reading for details on how to enable this feature.
Select Desktops To Show In The RADC Web Feed
To select which Desktops will show in the RADC web feed for a given user, open the server Dashboard application, go to the main “WSE REMOTEAPP” page, select the user, and click the “View the account properties” task located in the “<UserName> Tasks” pane.

Click the “Anywhere Access” tab in the user Properties dialog box that opens, and check the “Allow Remote Web Access …” and then the “Computers” checkboxes.

Click the “Computer access” tab, check the checkboxes for each of the desired computers, and then click OK.

Repeat the steps above for each of your users, and then enable/update the RADC web feed as discussed in the section below.
💡 TIP: Be sure to update the RADC web feed any time a new computer is connected to the server (via http://<YourServerName>/connect) so that it’s available to the RADC web feed.
➡ INFO: If you would like the user to be able to access the server Desktop of the ‘primary’ Essentials server from the RADC web feed, then you can check the “Server Dashboard …” checkbox on the “Anywhere Access” tab of the user Properties dialog box (shown above). However, please note that WSE RemoteApp includes a feature called “Shell Locker” that prevents standard (non-admin) users from being able to connect to the server Desktop. Therefore, you will also need to bypass Shell Locker for any standard user that you want to have access to the server Desktop by clicking the “Server Access Settings” task located in the “Users Tasks” pane, clicking the “Select Users” button in the Server Access Settings dialog box that opens, checking the checkbox for the user, and clicking the “Save” button:


Enable/Update The RADC Web Feed
To add Desktops to the RADC web feed you will need to enable/update the feed by opening the server Dashboard application, going to the main “WSE REMOTEAPP” page, clicking the “Enable RADC Web Feed” task located in the “Users Tasks” pane, selecting the “Enable RADC” option, checking the new “Add Desktops to web feed” checkbox, and following the prompts:
NOTE: The RADC Web Feed feature is only available after the product has been registered.


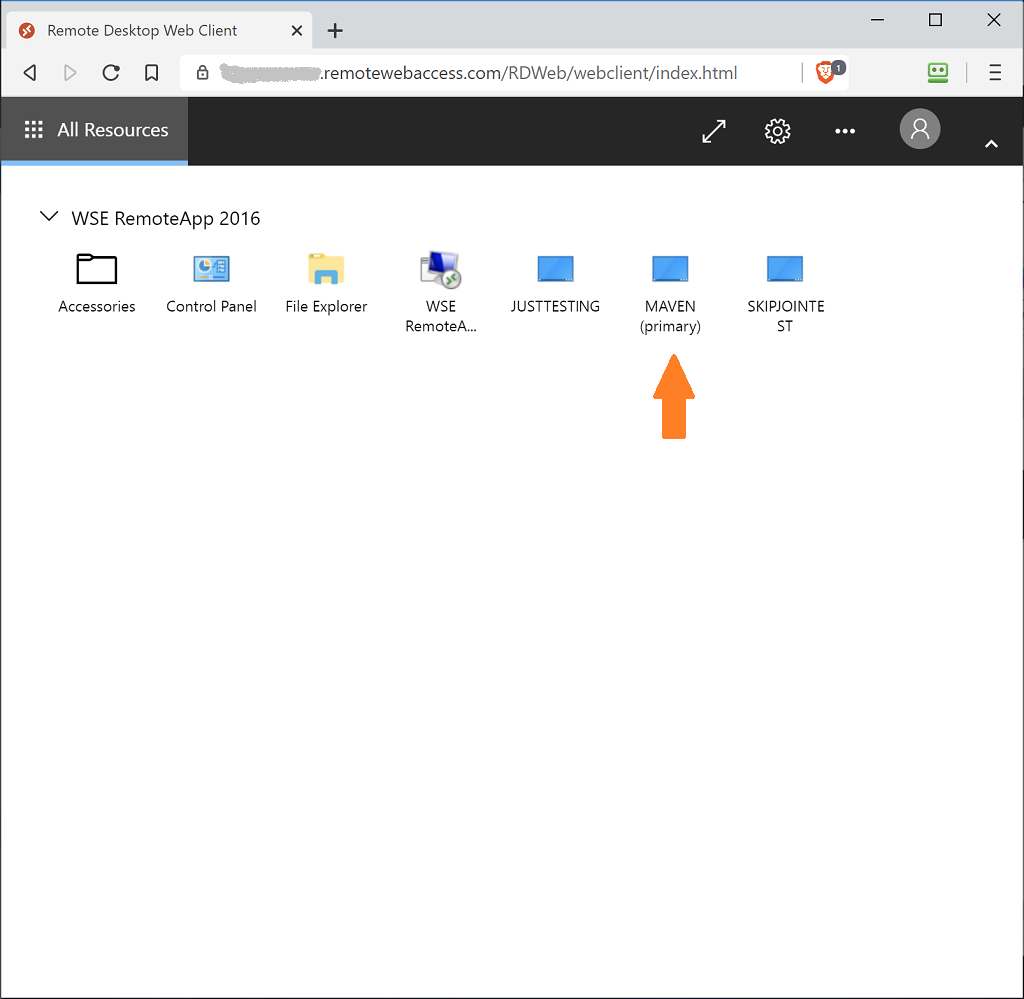
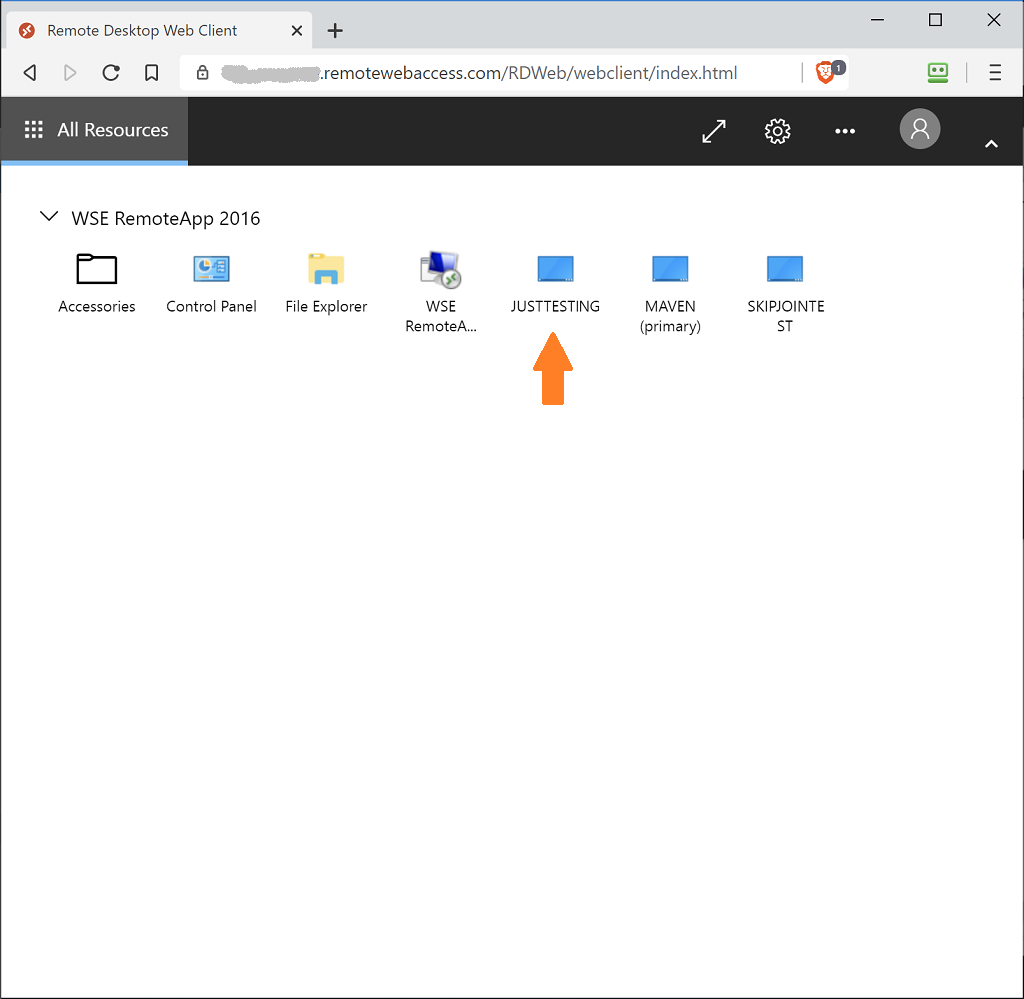
Opening Desktops In The Remote Desktop Web Client
If you are using WSE RemoteApp, and have the Remote Desktop web client enabled, then you will need to go a step further in order to be able to open Desktops in it. For security reasons, the Remote Desktop web client doesn’t allow you to connect to a Desktop if it doesn’t receive the proper server authentication certificate during the RDP authentication process:

In order to resolve this issue (i.e. in order to get the Remote Desktop Services service on the connected client computer to use the server authentication certificate instead of the computer’s self-signed certificate), you will need to install the server’s trusted Remote Web Access SSL certificate onto each of your connected client computers as follows:
NOTE: When you update the RADC web feed (as shown above), and the Remote Desktop web client is enabled, you will receive a prompt letting you know that the Remote Desktop web client requires the server’s trusted Remote Web Access SSL certificate to be installed onto the Desktops in order for it to be able to successfully open them directly in the web browser.
Click “Yes” to have WSE RemoteApp take care of doing this for you, and you’re all done!

➡ INFO: To accomplish this, WSE RemoteApp installs two scheduled tasks on each of your (domain-joined or SkipDomainJoin) connected client computers. One task retrieves the certificate from the server, and the other task installs it on the client. Clients that are running a Home edition of Windows will not receive the certificate since they do not have support for Remote Desktop (i.e. since you cannot remote into them). Any time the certificate is renewed or replaced on the server, the clients will automatically receive the new certificate accordingly. It may take up to an hour for the tasks to be run on the clients, and for them to receive the certificate. Clients will receive the certificate even when they are not currently connected to the server’s local network, which is especially useful for laptops, and other portable computers, that are frequently used for extended periods of time away from the server’s local network. Obviously, the clients will need to have the Windows Server Essentials Connector software installed on them (i.e. they need to be domain-joined or SkipDomainJoin connected to the server via http://<YourServerName>/connect), and WSE RemoteApp‘s client-side components need to be installed on them as well (i.e. you need to choose the “On the server and on all of the computers on the network” option when installing and/or updating WSE RemoteApp so that its client-side components get installed on all of your connected client computers).
OTHERWISE, if you would rather manually install the certificate onto the Desktops yourself, click the “Export Certificate…” button to export the server authentication certificate as a password protected .PFX file, and then continue on with the remainder of this guide:


INFO: The server’s “Company” shared folder is the suggested/default location for saving the exported .PFX and .REG files to in order to make it easier for you to find/access them from your connected client computers.

💡 TIP: Make a note of the server authentication certificate’s expiration date since you will need to install a new certificate on the Desktops before it expires.
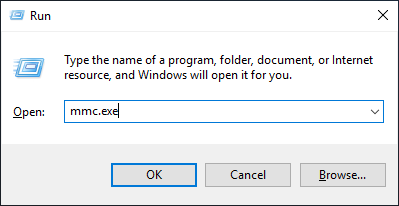
Over on your connected client computer, click Start, click Run, type mmc, and click OK.
On the File menu, click Add/Remove Snap-in.

In the Add or Remove Snap-ins dialog box, in the Available snap-ins list, click Certificates, and click Add.

In the Certificates snap-in dialog box, click Computer account, and click Next.

In the Select Computer dialog box, click Local computer: (the computer this console is running on), and click Finish.

In the Add or Remove Snap-ins dialog box, click OK.

In the Certificates snap-in, in the console tree, expand Certificates (Local Computer), and then expand Personal.

Right-click Certificates (under Personal), select All Tasks, select Import, and use the Certificate Import Wizard that opens to import your certificate using the previously exported .PFX file:


NOTE: Be sure to select Personal Information Exchange (*.pfx;*.p12) from the file type drop-down list so that you can see the exported .PFX file.


In the Certificates snap-in (under Personal → Certificates), select the certificate that you just imported. Right-click the certificate, select All Tasks, and select Manage Private Keys.

In the Permissions dialog box that opens, click Add, type NETWORK SERVICE, click OK, uncheck Full control, and make sure that Read is checked under the Allow column, and then click OK:
INFO: The Remote Desktop Services service runs under the NETWORK SERVICE account. Therefore, it is necessary to set the ACL of the key file used by RDS (referenced by the certificate named in the SSLCertificateSHA1Hash registry value) to include NETWORK SERVICE with “Read” permissions.


NOTE: If your client computer has a non-English edition of Windows installed on it, then you will need to use the localized service name for the NT AUTHORITY\NETWORK SERVICE account for your specific language edition.

Lastly, the connected client computer’s SSLCertificateSHA1Hash registry value (located under HKEY_LOCAL_MACHINE\SYSTEM\CurrentControlSet\Control\Terminal Server\WinStations\RDP-Tcp) needs to be set to the certificate’s SHA1 thumbprint. To make this easy for you, a .REG file was automatically created containing the value specific to your certificate when you exported the certificate as a .PFX file. Simply locate that .REG file and double-click it (over on the connected client computer) in order to enter its contents into the registry of the connected client computer.

Once that has been done, open the Services applet and restart the Remote Desktop Services service on the connected client computer (or you may just restart the client computer instead).

After doing that, you will then be able to open the Desktop in the Remote Desktop web client:

Repeat the steps above for each of your connected client computers.
ALTERNATIVELY, if don’t want to (or can’t) install the server’s trusted Remote Web Access SSL certificate onto your connected client computers, then instead of opening Desktops directly in the web browser, users may choose to connect to them by downloading a .RDP file to handle with another Remote Desktop client installed on their machine (e.g. the native Remote Desktop Connections client in Windows, etc.).
To do so, click the settings gear icon in the Remote Desktop web client, and in the “Resources Launch Method” section, choose “Download the rdp file“.


From then on, whenever the user clicks a Desktop (or a RemoteApp program) in the Remote Desktop web client, they will be prompted to download a .RDP file instead of it opening directly in the web browser itself.
Conclusion
That’s it! I hope everyone enjoys being able to access their Desktops from WSE RemoteApp‘s RADC web feed. I look forward to hearing your feedback on this new feature (and as always, both positive and negative feedback is more than welcome).
— MIKE (The Office Maven)
Sources
See Also
News – Connecting From Mac / iOS / Android / Windows Computers and Devices