Enable Printing To Local Computer’s Printer
By default, WHS RemoteApp, WHS Office, WHS Outlook, WHS QuickBooks, and WHS Quicken are not configured to allow printing to the printer that is connected to your local computer. To enable printing to the local computer’s printer:
You will need to install the printer drivers for your local printer directly on the server as follows:
1. Download the latest release of the printer drivers from the printer manufacturer’s website.
NOTE #1: The underlying operating system in Windows Home Server 2011, Windows Small Business Server 2011 Essentials, and Windows Storage Server 2008 R2 Essentials is Windows Server 2008 R2 (which is a 64-bit/x64 operating system). Therefore, be sure to download a version of the printer drivers that are specifically made for installation on 64-bit Windows Server 2008 R2 operating systems. If your printer manufacturer doesn’t offer a version of their printer drivers specifically for use with Windows Server 2008 R2, then a version made for use on 64-bit Windows 7 operating systems “should” work as well.
NOTE #2: If your printer manufacturer happens to offer a “driver-only” download for your printer (as opposed to a complete Plug-n-Play setup/installation package), then download that smaller package instead, as only the drivers for your specific printer are needed (and not a full setup package containing paper or ink level monitoring programs, etc.).
2. Once you have downloaded the drivers for your printer, start a Remote Desktop Connection to your server as the Administrator (or as any user with administrator privileges if using Windows Small Business Server 2011 Essentials).
3. If your driver download contains a self-installing executable file (“setup.exe“, “install.exe“, etc.), go ahead and run the executable file from the Administrator’s desktop in order to install the printer directly on the server.
NOTE: If the printer installation program won’t continue without being able to locate your printer, it may be necessary for you to temporarily connect the printer (via it’s USB cable, etc.) to the server in order to successfully install the drivers for it directly on the server. Once the installation has completed, you can simply disconnect the printer from the server and reconnect it back to the local computer.
If your driver download doesn’t contain a self-installing executable file (i.e. if only the drivers themselves are available), or if the self-installing executable file simply extracted the printer’s drivers onto the server without actually installing them, then manually add the printer to the server as follows:
From the Administrator’s desktop click on:
Start -> Devices and Printers
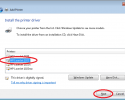
In the Devices and Printers window that opens, click on the “Add a printer” link and follow along through this image gallery to add your printer using the drivers you downloaded from the printer manufacturer’s website:
Or, better yet, use the following method (from Robert Pearman) for installing the printer drivers without actually adding the printer to the server (and without requiring that the printer to be physically connected to the server):
Quick Fix: Printer not Redirected in RDP Session
INFO: If the “Print server properties” option mentioned in the above article does not appear in the server’s “Devices and Printers” Control Panel applet, then you can just run the following command from an elevated (i.e. run as administrator) Command Prompt in order to open the “Printer Server Properties” window:
printui /s /t2
Once you have the printer drivers for your local printer successfully installed on the server, restart the server (if required), and then enable WHS RemoteApp, WHS Office, WHS Outlook, WHS QuickBooks, and/or WHS Quicken to print to the local computer’s printer as follows:
Local Access From The Launchpad Application
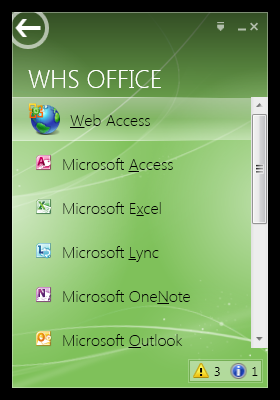
1. From the Launchpad application, click on:
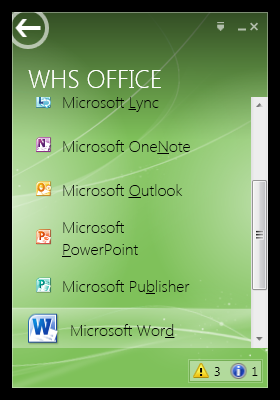
Add-ins -> WHS Office (WHS RemoteApp, WHS Outlook, WHS QuickBooks, or WHS Quicken) and click the Launcher or desired Microsoft Office application (or again on WHS RemoteApp (Launcher), WHS Outlook, WHS QuickBooks, or WHS Quicken).
NOTE: Starting with version 1.17.171.171, the connector will automatically sign in if you have the “Remember me on this computer” and “Remember my password” checkboxes checked. To prevent the automatic sign in from taking place (so that you can get to the connector’s Settings drop-down menu), simply hold down the CTRL key on your keyboard while clicking on the Launchpad icon. If you would like to reset all settings back to their default values, hold down the SHIFT key on your keyboard while clicking on the Launchpad icon.
2. Click on the Settings arrow in the upper-right-hand corner to display the Settings drop-down menu.
3. Under the Remote Desktop Options section of the Settings drop-down menu that appears, check the “Enable … to print to my local printer” checkbox and click on the “Save Changes” button.
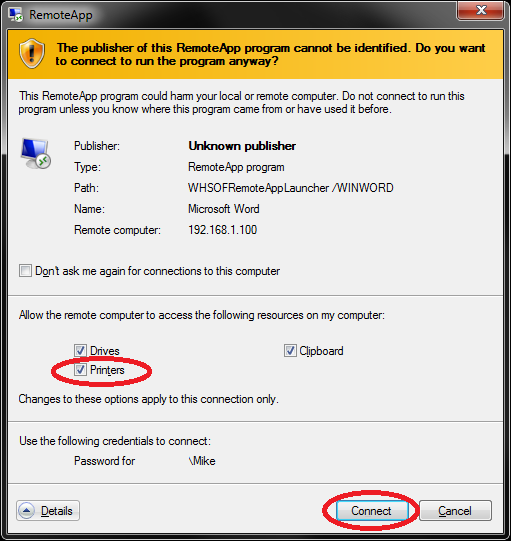
The next time you connect, WHS Office (WHS RemoteApp, WHS Outlook, WHS QuickBooks, and/or WHS Quicken) will have access to the printer that is connected to the local computer.
NOTE: Starting with version 1.21.201.201, the connector will automatically suppress (i.e. you will no longer see) the following “Unknown Publisher” notification.
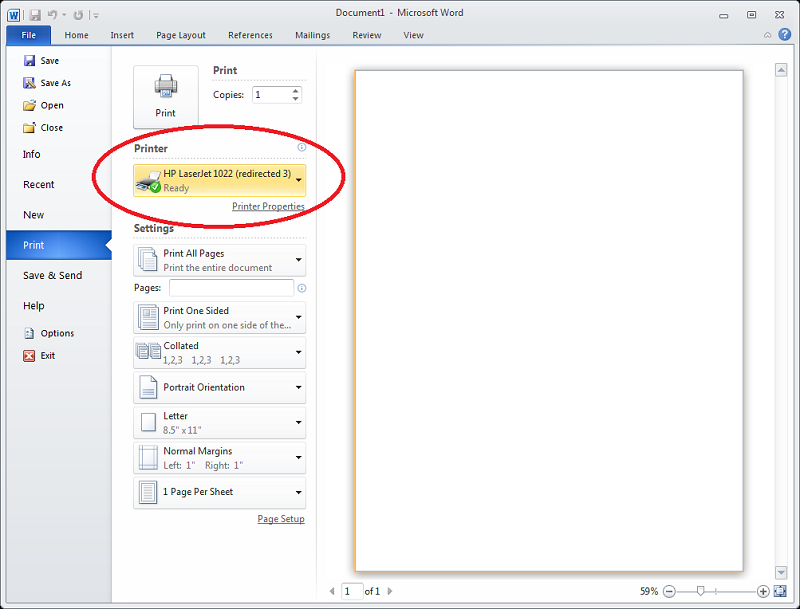
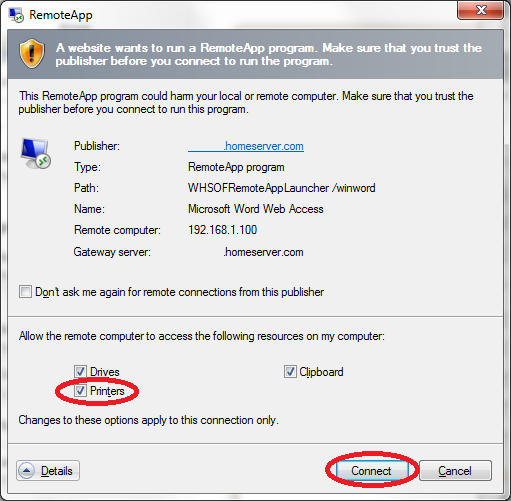
NOTE: Be sure to select the printer with the word “redirected” in parentheses after its name.
Remote Access From The Remote Web Access Website
1. From the Launchpad application, click on:
Add-ins -> WHS Office (WHS RemoteApp, WHS Outlook, WHS QuickBooks, or WHS Quicken) -> Web Access
2. Sign-in to the server’s Remote Web Access website.
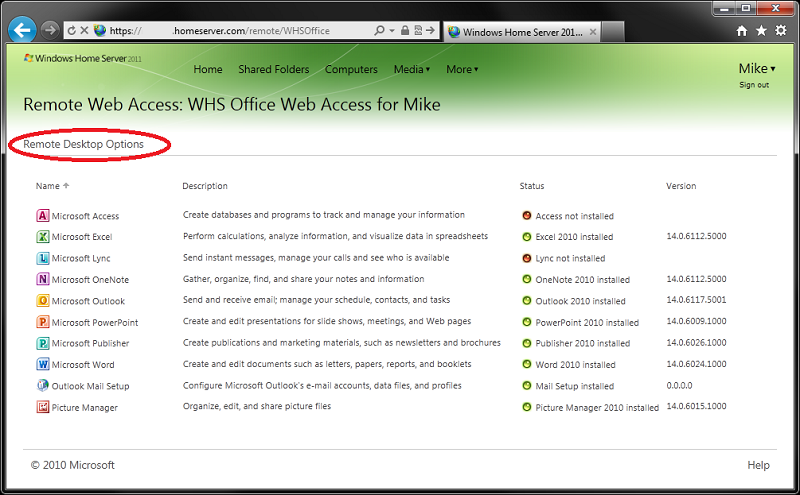
3. Click on the “Remote Desktop Options” link.
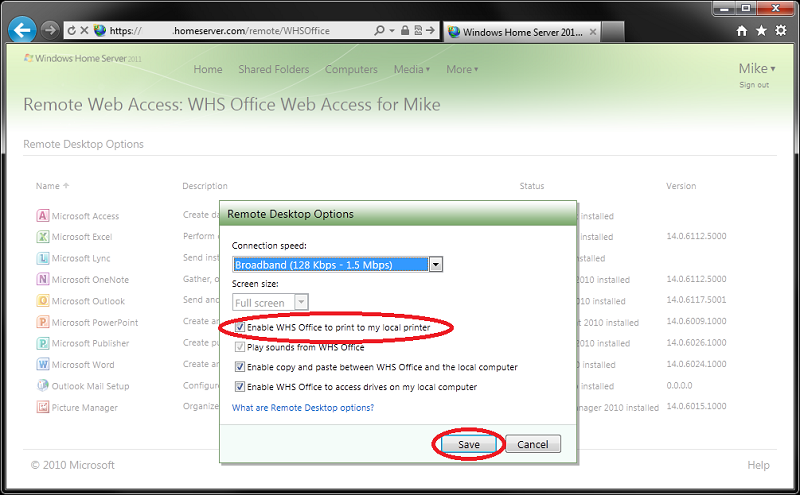
4. In the Remote Desktop Options window that opens, check the “Enable … to print to my local printer” checkbox and click the “Save” button.
The next time you connect, WHS Office (WHS RemoteApp, WHS Outlook, WHS QuickBooks, and/or WHS Quicken) will have access to the printer that is connected to the local computer.
NOTE: Be sure to select the printer with the word “redirected” in parentheses after its name.

 Posted by Mike
 Last updated: November 21, 2017


